
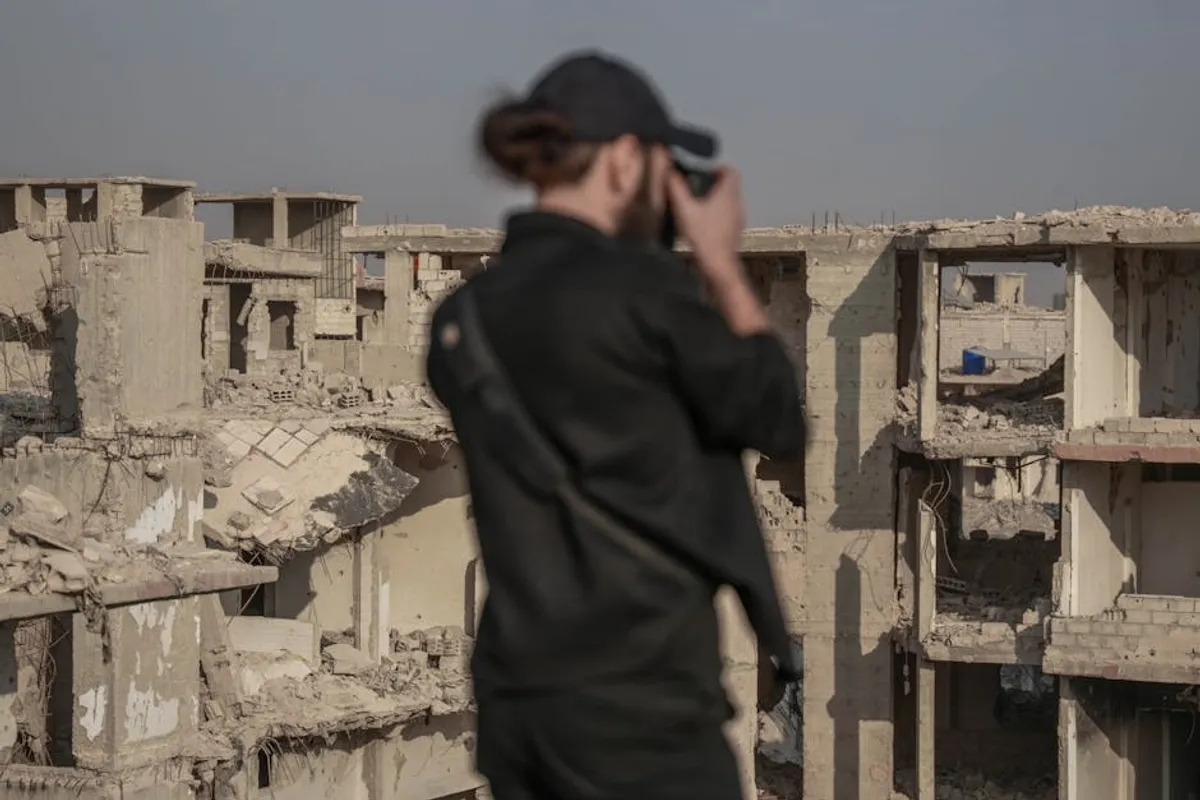
Photographing ruins presents a unique set of challenges and opportunities, requiring a deliberate approach to capture both the architectural decay and the historical narrative embedded within weathered structures. Unlike conventional landscape or architectural photography, the objective here extends beyond mere documentation; it involves conveying atmosphere, the passage of time, and the intricate details of deterioration. Success hinges on understanding how light interacts with crumbling stone, how to compose scenes that emphasize both grandeur and fragility, and the technical considerations necessary to render these complex environments effectively.
Mastering Light and Composition in Ruined Landscapes
The interplay of light and shadow is paramount when depicting ruins. Direct, harsh midday sun often flattens textures and creates unflattering contrast, obscuring the very details that define a ruin's character. Instead, prioritize the 'golden hour'—the period shortly after sunrise or before sunset—when soft, warm light sculpts architectural forms and enhances the patina of age. This low-angle illumination reveals intricate textures in stone, wood, and metal, adding depth and three-dimensionality. Overcast days also offer advantages, providing diffused, even light that minimizes harsh shadows and allows for more consistent exposure across complex scenes. This is particularly effective for interiors or capturing subtle color variations in moss-covered walls.
Compositionally, ruins demand careful framing to tell a compelling story. Employ leading lines—such as crumbling walls, pathways, or fallen beams—to draw the viewer's eye into the scene and towards a focal point. The rule of thirds remains a fundamental guideline, placing points of interest off-center to create visual balance. However, also consider framing within a frame, using doorways, windows, or archways to isolate specific elements and add context. Pay attention to negative space; the sky or an empty expanse of ground can emphasize the isolation or grandeur of a structure. For capturing the scale of a ruin, include a human element or a recognizable object (like a tree or a distant building) to provide perspective, but ensure it doesn't detract from the primary subject.
Essential Gear for Ruin Photography
The right equipment facilitates capturing the nuances of these often challenging environments. While a modern smartphone can capture basic images, dedicated camera gear offers the control and image quality necessary for professional results.
- Camera Body: A DSLR or mirrorless camera with good low-light performance and dynamic range is crucial. Full-frame sensors generally excel in these areas, offering cleaner images at higher ISOs and greater flexibility in post-processing.
- Lenses:
- Wide-angle (16-35mm equivalent): Indispensable for capturing expansive interiors, grand facades, or the ruin within its broader landscape context.
- Standard zoom (24-70mm equivalent): A versatile option for general use, offering a good range for both wider shots and tighter compositions.
- Telephoto (70-200mm equivalent): Useful for isolating architectural details, capturing distant elements, or compressing perspective to emphasize layers of decay.
- Prime lenses (e.g., 35mm, 50mm): Offer superior sharpness and wider apertures (f/1.4-f/2.8), beneficial for low-light conditions inside ruins or creating shallow depth of field to emphasize specific details.
- Tripod: Non-negotiable for low-light situations, long exposures, focus stacking, and bracketing for HDR. A sturdy tripod minimizes camera shake and allows for precise composition adjustments.
- Filters:
- Neutral Density (ND) filters: Reduce the amount of light entering the lens, enabling longer exposures during daylight hours to smooth water, blur moving clouds, or remove transient elements like people.
- Circular Polarizer (CPL) filter: Reduces glare and reflections from non-metallic surfaces (like wet stone or foliage), enhances color saturation, and darkens blue skies.
- Remote Shutter Release: Prevents camera shake when tripping the shutter, especially critical during long exposures.
- Protection: Weather-sealed gear is advantageous, but always carry rain covers, lens cloths, and dust blowers. Ruins often expose equipment to dust, moisture, and debris.
Pro Tip: Always carry a headlamp or flashlight, even for daytime shoots. Interiors of ruins can be surprisingly dark, and a light source is essential for navigating safely, checking camera settings, and even light painting during long exposures.
Techniques for Capturing Decay and History
Beyond basic exposure, specific photographic techniques enhance the narrative of decay:
High Dynamic Range (HDR): Ruins frequently present extreme differences in light, such as a bright sky visible through a window juxtaposed with a dark interior. Bracketing exposures—taking multiple shots at different exposures (e.g., -2, 0, +2 EV)—and then merging them in post-processing creates an HDR image with detail preserved in both highlights and shadows. This technique accurately represents the full tonal range the human eye perceives.
Long Exposure: When photographing ruins near water, or in areas with moving elements like clouds or foliage, long exposures (from a few seconds to several minutes) can transform the scene. Water becomes silky smooth, clouds streak across the sky, and any moving people disappear, leaving the ruin as the sole, timeless subject. This technique requires a tripod and often ND filters during daylight.
Focus Stacking: If you want every element from a foreground artifact to a distant wall to be tack-sharp, focus stacking is invaluable. This involves taking multiple images, each focused on a different plane, and then blending them in post-processing to achieve a single image with extended depth of field, surpassing what a single shot at a narrow aperture can achieve.
Detail Isolation: Use a telephoto lens or crop tightly in post-processing to highlight specific elements of decay—a rusted hinge, peeling paint, intricate carvings, or overgrown vegetation. These close-ups often reveal the intimate stories of a ruin that a wide shot might miss.
Safety, Ethics, and Post-Processing
Approaching ruin photography responsibly involves both personal safety and ethical considerations. Always research the site beforehand to understand access rules, potential hazards like unstable structures, or restricted areas. Obtain any necessary permits, especially for private property or protected historical sites. Practice 'Leave No Trace' principles: do not disturb artifacts, climb on fragile structures, or leave any litter. Prioritize your safety: wear appropriate footwear, be aware of your surroundings, and avoid entering areas that appear structurally unsound.
Post-processing is where the mood and narrative of your ruin photographs are often finalized. Enhance textures using clarity, dehaze, and sharpening tools to bring out the grittiness of weathered materials. Color grading can shift the emotional tone; desaturating colors can evoke a sense of age and melancholy, while subtle color boosts can emphasize moss, rust, or faded frescoes. Tonal adjustments, such as dodging (lightening) and burning (darkening) specific areas, can guide the viewer's eye and add dramatic emphasis. Correcting perspective distortions, common with wide-angle lenses in architectural photography, ensures vertical lines remain straight.
Crafting Visual Histories
Photographing ruins is an exercise in visual storytelling, demanding technical proficiency combined with an appreciation for history and decay. By meticulously managing light, composing with intent, leveraging appropriate gear, and applying specific capture and post-processing techniques, you can move beyond simple documentation to create evocative images that resonate with the passage of time. Each frame becomes a carefully constructed narrative, preserving the silent eloquence of forgotten places.
Frequently Asked Questions
Q: What is the best time of day to photograph ruins?
A: The 'golden hour' (shortly after sunrise or before sunset) provides soft, warm, directional light that enhances textures and creates dramatic shadows. Overcast days offer diffused, even light suitable for capturing subtle details and interiors without harsh contrast.
Q: Is a wide-angle lens essential for ruin photography?
A: While not strictly essential for every shot, a wide-angle lens (e.g., 16-35mm) is highly recommended for capturing the expansive scale of ruins, fitting large structures into the frame, and photographing cramped interiors effectively.
Q: How do I handle extreme light differences inside ruins?
A: Use High Dynamic Range (HDR) techniques by bracketing exposures (taking multiple shots at different brightness levels) and merging them in post-processing. This preserves detail in both bright highlights and deep shadows.
Q: What safety precautions should I take when photographing ruins?
A: Always research the site for hazards, wear sturdy footwear, and be aware of unstable structures or falling debris. Obtain necessary permissions, avoid trespassing, and never disturb artifacts or climb on fragile elements.