Effectively photographing public art and dynamic street environments presents unique challenges and opportunities for visual content creators. Unlike studio work, these subjects are exposed to uncontrolled lighting, unpredictable elements, and often require capturing a sense of place or scale within a broader context. The goal is to produce compelling images that convey the artist's intent for murals and installations, or the vibrant narrative of a street scene, suitable for professional portfolios, marketing campaigns, or editorial use. This guide outlines the technical and creative approaches necessary to achieve high-quality results in these demanding settings.
Assessing the Scene: Murals, Installations, and Street Life
Before even raising the camera, a thorough assessment of the environment is crucial. Each subject type demands a specific pre-visualization strategy:
- Murals: Consider the mural's scale, its relationship to the surrounding architecture, and any obstructions. Identify the primary light source and how it interacts with the artwork's texture and colors throughout the day. Look for unique angles that highlight specific details or the mural's overall impact.
- Installations: These are often three-dimensional and interactive. Determine if the installation is best captured from a single vantage point or requires multiple perspectives to convey its full scope. Pay attention to how light plays on different materials and shapes, and whether human interaction is an intended part of the piece.
- Street Scenes: This is about capturing moments. Identify potential points of interest, recurring patterns, or areas with high foot traffic. Anticipate movement and consider how people, vehicles, or natural elements contribute to the narrative of the scene. The goal is often to freeze a fleeting moment or illustrate the energy of a location.
Essential Gear and Preparatory Steps
While a modern smartphone can capture adequate images, dedicated camera equipment offers greater control and image fidelity. The right tools enhance your ability to adapt to varying conditions.
Camera Body: A DSLR or mirrorless camera with manual controls is ideal. These allow precise adjustments to aperture, shutter speed, and ISO, which are critical in dynamic outdoor environments.
Lenses:
- Wide-Angle (14-35mm): Indispensable for capturing the full scope of large murals or installations, especially in confined urban spaces. It helps include contextual elements that define the location.
- Standard Prime (35mm or 50mm): Excellent for street photography due to its natural perspective and ability to perform well in lower light. Also useful for isolating details within larger artworks.
- Telephoto (70-200mm): Useful for compressing perspective, isolating distant details in murals, or capturing candid street moments without being intrusive.
Stabilization: A lightweight travel tripod or monopod is beneficial for long exposures in low light or for ensuring sharp details when photographing static art. A remote shutter release can further minimize camera shake.
Filters: A circular polarizer can reduce glare on reflective surfaces (like glass or wet pavement) and enhance color saturation in murals. Neutral Density (ND) filters are useful for achieving longer exposures in bright conditions, creating motion blur effects in street scenes.
Battery Life and Storage: Always carry spare batteries and ample memory cards. Outdoor photography sessions can be extended, and you don't want to miss a shot due to power or storage limitations.
Mastering Light and Composition
Light is the fundamental element of photography, and its management is paramount in uncontrolled outdoor settings. Composition dictates how elements within your frame guide the viewer's eye.
Utilizing Natural Light
The "golden hour" (shortly after sunrise or before sunset) provides soft, warm light that enhances colors and minimizes harsh shadows, ideal for murals and installations. Overcast days offer diffused, even lighting, reducing contrast and making colors pop without glare. Avoid direct midday sun, which creates harsh shadows and can overexpose bright areas while underexposing shaded ones.
Strategic Composition
Apply classic compositional rules while adapting them to the specific subject:
Rule of Thirds: Place key elements along the intersecting lines or points to create visual interest. For murals, this might mean aligning a significant character or architectural feature. For street scenes, position subjects off-center to create dynamic tension.
Leading Lines: Use architectural elements, roads, or natural lines to draw the viewer's eye towards the main subject. This is particularly effective in street photography to add depth and direction.
Symmetry and Patterns: Some murals or installations are inherently symmetrical. Capturing this balance can create a powerful image. In street scenes, look for repeating patterns in architecture or crowds.
Framing: Use natural frames like doorways, windows, or archways to draw attention to your subject and add context.
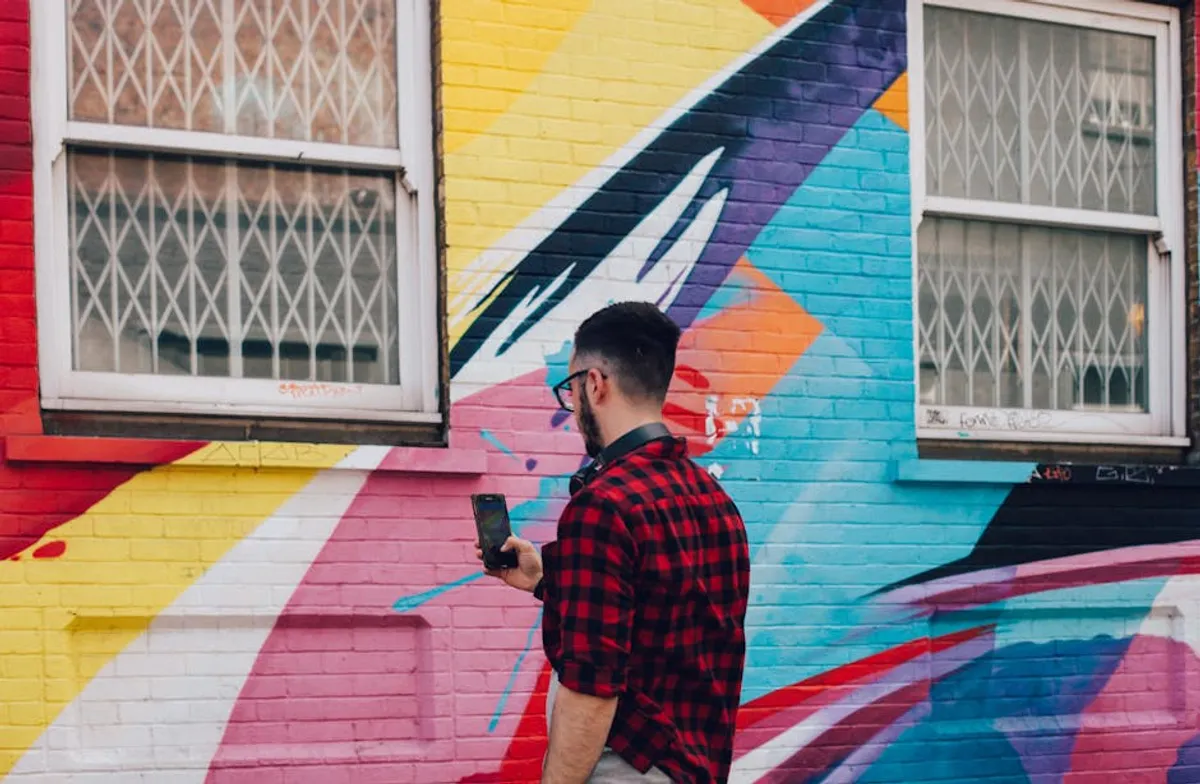
Including a Human Element: For murals and installations, including a person (with permission, or from a distance for scale) can provide a sense of scale and interaction. In street photography, people are often the primary subject, conveying emotion and narrative.
Warning: Respect and Privacy in Public Spaces
When photographing murals or installations on private property, always seek permission from the owner or artist. For street photography, be mindful of privacy laws and ethical considerations. Avoid intrusive behavior, and if someone expresses discomfort, respect their wishes. In many jurisdictions, photographing people in public spaces is legal, but a general rule of thumb is to avoid close-up, identifiable shots of individuals without their consent, especially if the intent is commercial use.
Technical Camera Settings for Clarity and Detail
Precise camera settings ensure your images are sharp, well-exposed, and accurately colored.
Aperture (f-stop):
- Murals: For capturing the entire mural in sharp focus, use a narrower aperture (e.g., f/8 to f/11). This provides a greater depth of field.
- Installations: Depending on whether you want to emphasize the entire piece or isolate a specific detail, adjust aperture. A wider aperture (e.g., f/2.8 to f/4) can create a shallow depth of field, blurring the background and drawing attention to a specific part of the installation.
- Street Scenes: A moderate aperture (f/4 to f/8) often balances subject sharpness with some contextual background blur, providing versatility.
Shutter Speed:
- Murals/Installations: If static, use a shutter speed fast enough to avoid camera shake (e.g., 1/125 sec or faster handheld; longer with a tripod).
- Street Scenes: To freeze action, use a fast shutter speed (e.g., 1/500 sec or faster). For intentional motion blur (e.g., moving vehicles against a static background), use slower speeds (e.g., 1/30 sec or slower) with a steady hand or tripod.
ISO: Keep ISO as low as possible (e.g., ISO 100-400) to minimize digital noise and maximize image quality. Only increase ISO when necessary to achieve a usable shutter speed or aperture in low light.
White Balance: Set white balance manually or use a specific preset (e.g., "Daylight," "Cloudy," "Shade") rather than "Auto" to ensure accurate color reproduction, especially important for capturing the true colors of artwork.
Post-Processing for Impactful Visuals
Post-processing refines your images, correcting imperfections and enhancing their visual appeal. This stage is crucial for delivering professional-grade assets.
Basic Adjustments: Start with exposure, contrast, highlights, and shadows. Recover details in overexposed or underexposed areas. Adjust white and black points to ensure a full tonal range.
Color Correction: Fine-tune white balance if necessary. Adjust saturation and vibrance to make colors pop without looking artificial. For murals, ensure color accuracy to represent the original artwork faithfully.
Perspective Correction: Wide-angle lenses can introduce barrel distortion or converging verticals, especially when shooting tall murals or buildings. Use lens correction profiles and perspective tools in editing software to straighten lines and correct distortion.
Sharpening and Noise Reduction: Apply subtle sharpening to enhance detail. If high ISO was used, apply noise reduction judiciously to clean up grain without losing too much detail.
Cropping: Crop to improve composition, remove distracting elements, or fit specific aspect ratios for various platforms (e.g., social media, print).
Developing Your Visual Narrative
Photographing murals, installations, and street scenes goes beyond technical proficiency; it's about telling a story. Approach each subject with curiosity and a clear intention. Experiment with different angles, timings, and compositions. Review your images critically, identifying what works and what doesn't. Over time, this iterative process refines your eye and strengthens your ability to capture compelling visual narratives that resonate with your audience.
Frequently Asked Questions
What is the best time of day to photograph murals and installations?
The "golden hour" (early morning or late afternoon) provides soft, warm light that enhances colors and minimizes harsh shadows. Overcast days also offer diffused, even lighting, which is excellent for color accuracy.
How do I deal with crowds when photographing public art or street scenes?
Patience is key. Wait for gaps in foot traffic, or embrace the crowd by incorporating people into your composition to give a sense of scale or activity. A slightly higher vantage point can sometimes help minimize foreground distractions.
Should I use a flash for murals or installations?
Generally, natural light is preferred to maintain the integrity of the artwork's appearance and avoid harsh reflections. If supplemental light is absolutely necessary (e.g., in very dim conditions), use a diffused, off-camera flash or continuous LED light sparingly and with respect for the environment and other viewers.
How can I ensure my photos of murals look straight and undistorted?
Use a wide-angle lens and try to position yourself directly in front of the mural. If shooting from an angle, be aware of converging lines. In post-processing, use lens correction tools and perspective warp features in editing software to straighten lines and correct any barrel or pincushion distortion.